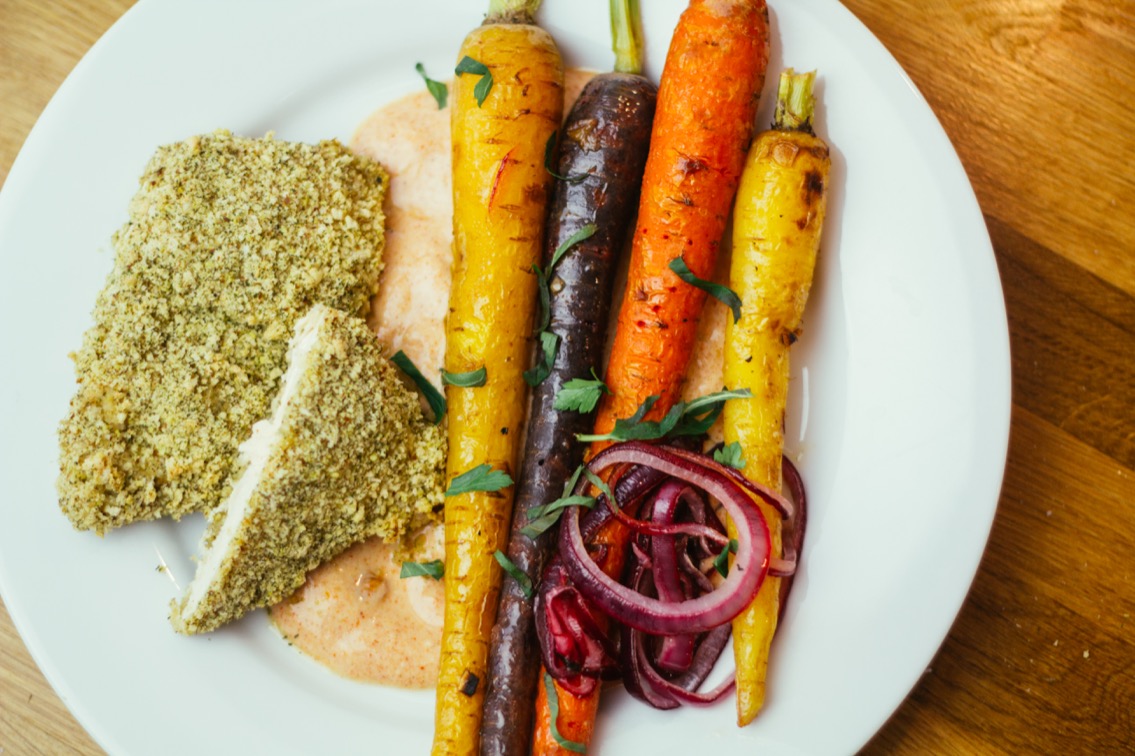
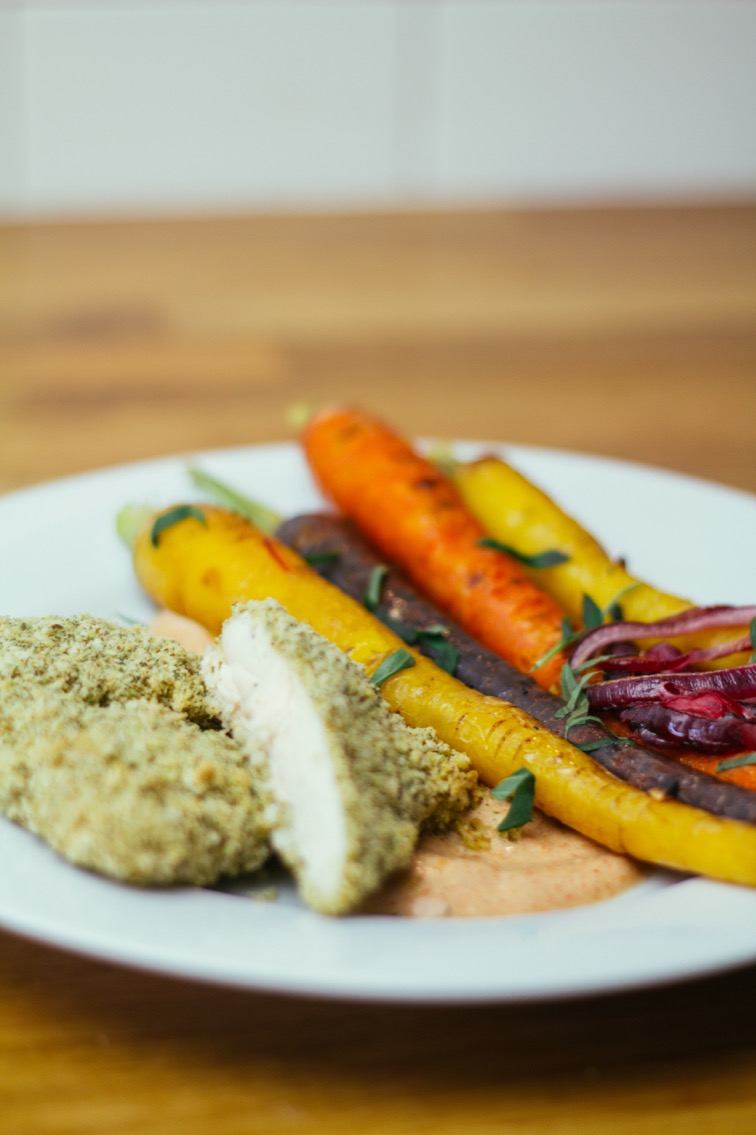
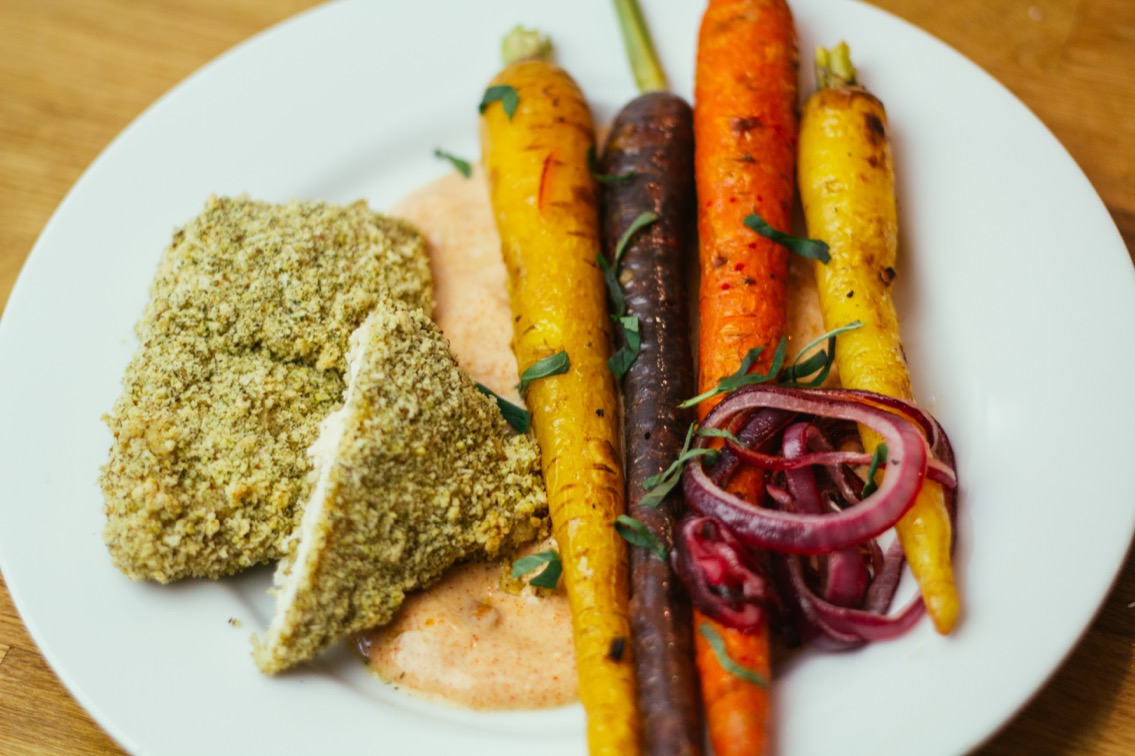
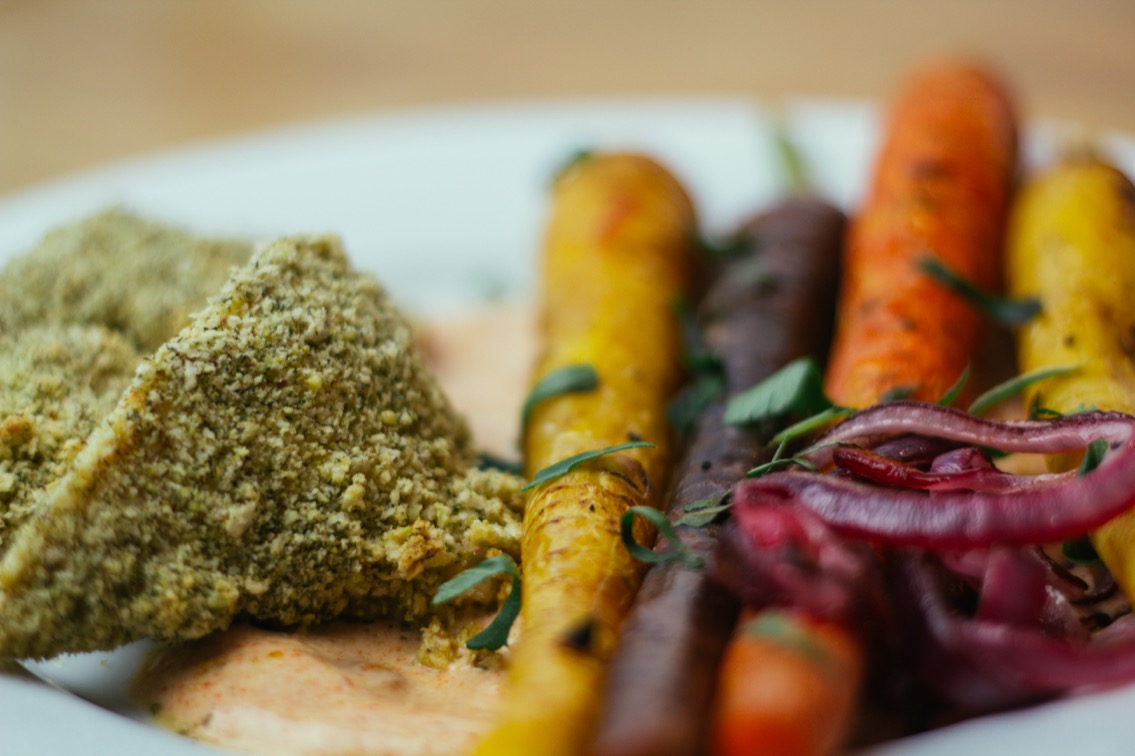
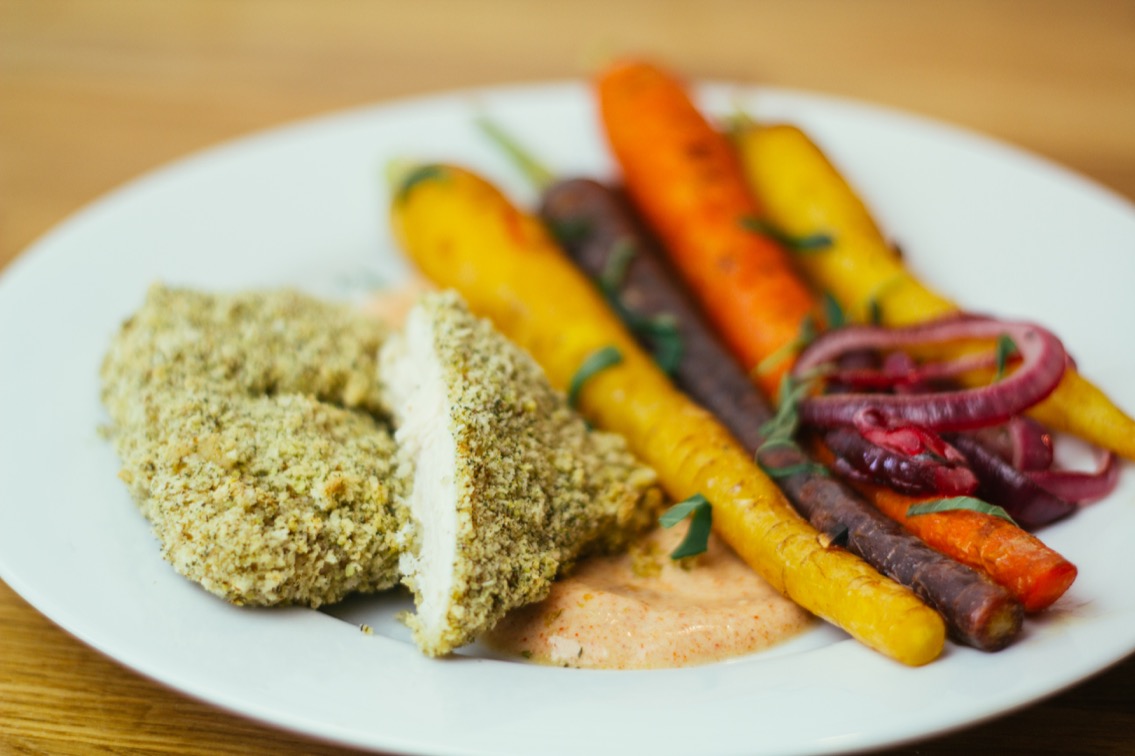
Baked Chicken with Heirloom Carrots & Spicy Yogurt


- Details
I’ve got one word for you “Heirloom”.
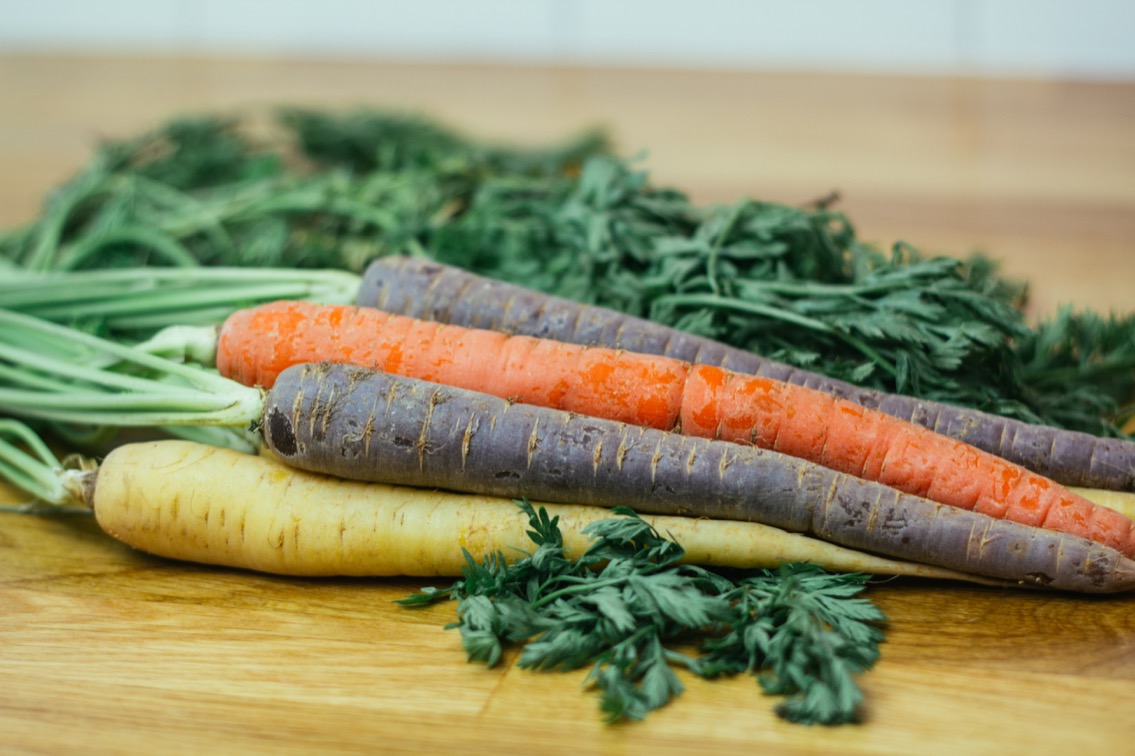
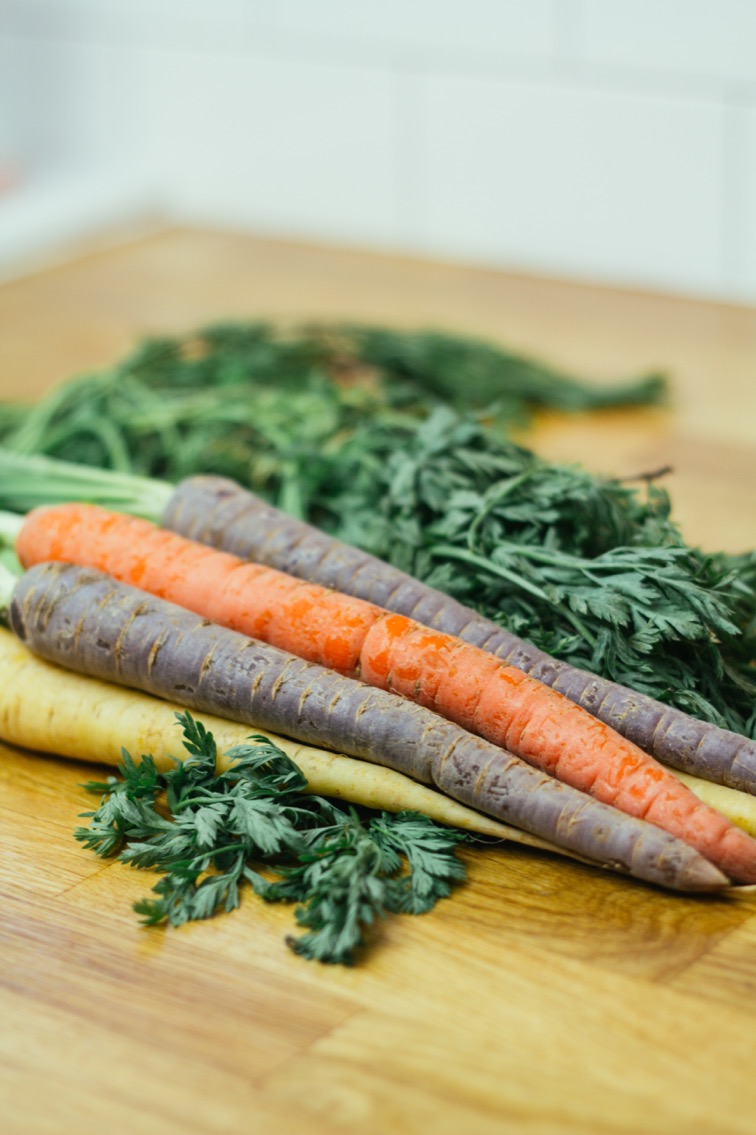
Here at Bachelor Cooking, we’re always trying to minimize effort and maximize deliciousness. And to take that one step further, we’re about to maximize the “wow” factor with these dope carrots. I mean, just look at them. They’re more than just orange–they’re varying colors! You know that’s special.
But seriously, for a few cents more you can get these fancy “Heirloom Carrots” meaning they’ve been grown from seeds that have been passed down (or something like that). Then after we make these fancy looking carrots, we’re going to plate it on top of a spicy yogurt sauce and match it with some baked chicken FTW.
WARNING: This is not a recipe for the faint of heart. Seriously, don’t try to attempt this recipe if you’re already super hungry and just need a “quick bite”. This recipe is best accomplished with another more attractive person that you can then share the meal with.

Prep Time: 45 min Cook Time: 75 min
Ingredients:
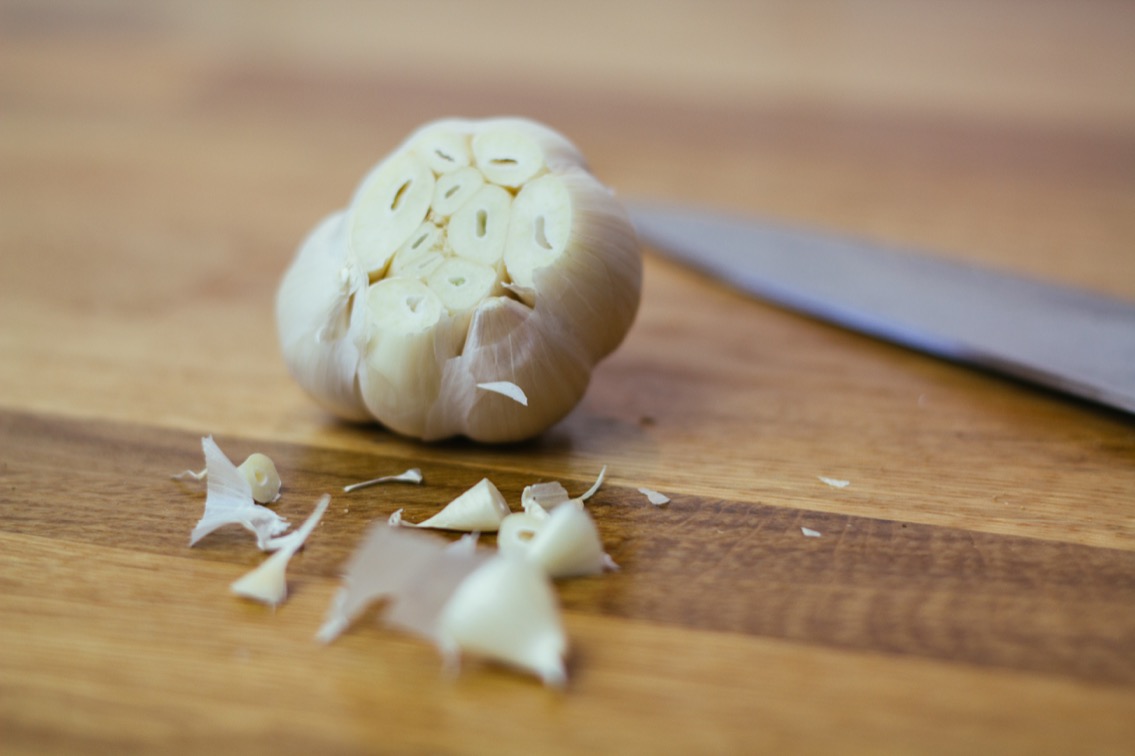
- 1 Head of Garlic
- Olive Oil (a few tablespoons)
- .75-1.0 lb Chicken Breast
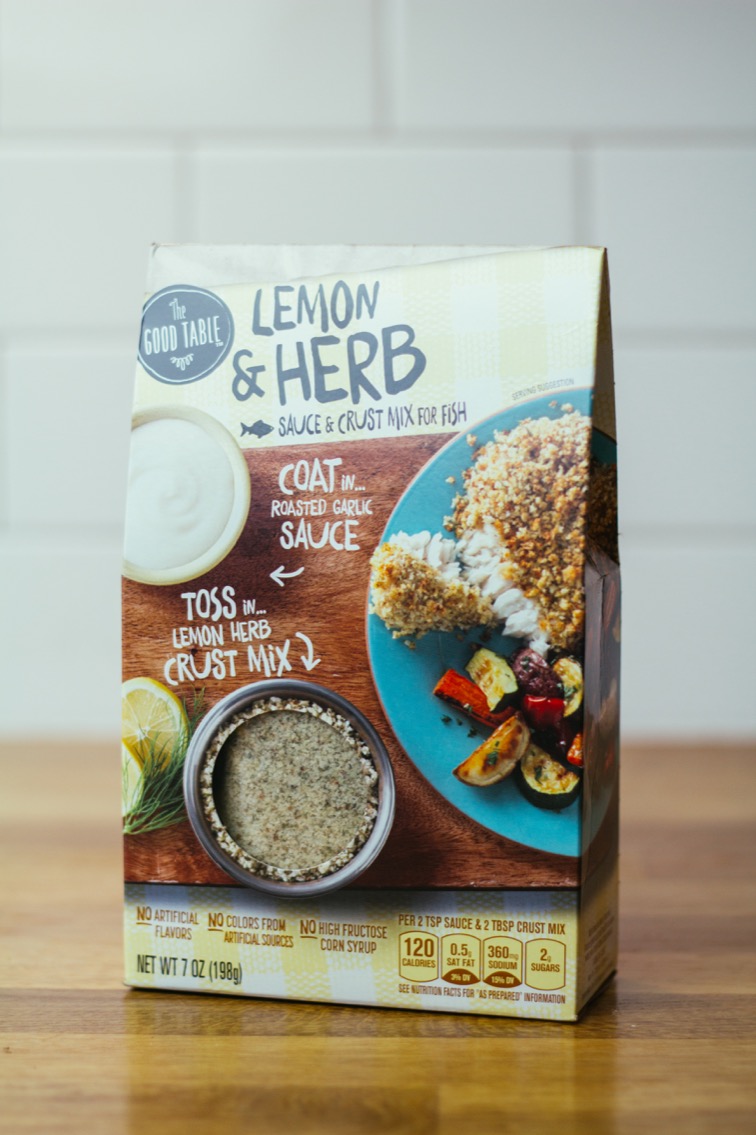
- 1 Package of The Good Table – Lemon & Herb sauce and crust mix
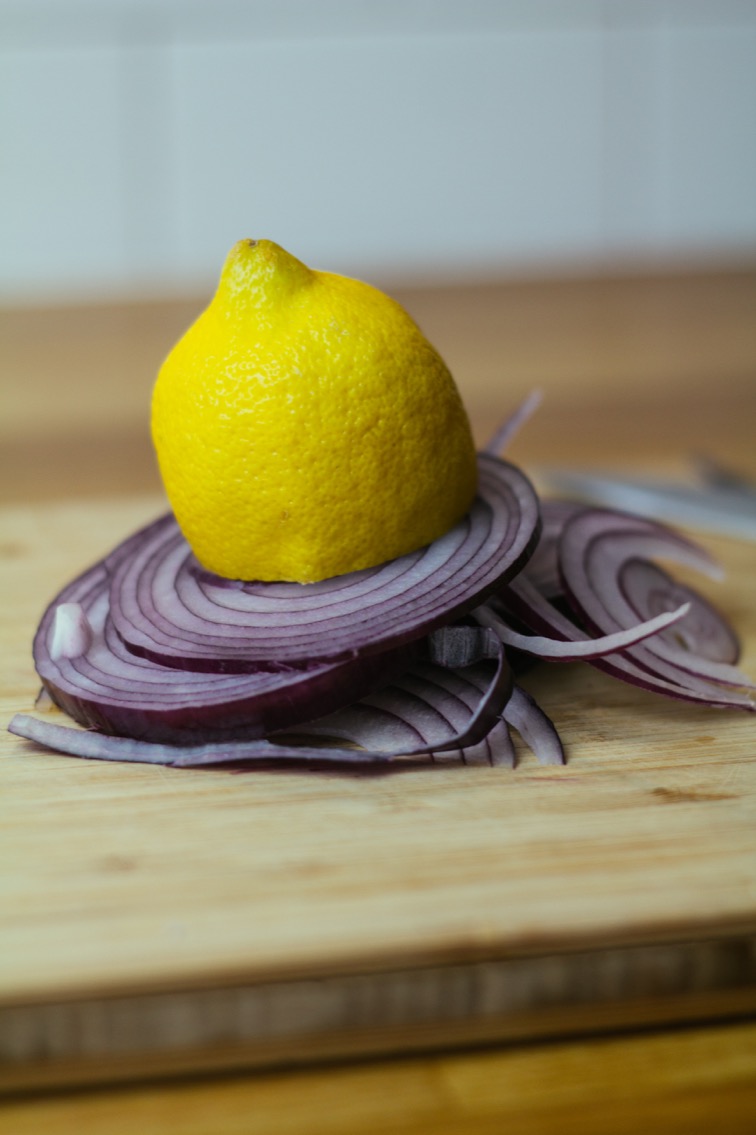
- 1/3 Red Onion
- 1/2 Lemon
- 1 Bundle of Heirloom Carrots
- 1 Cup plain Greek Yogurt
- 1 Tblspn Paprika
- 1 Tblspn Chipotle powder
- 2 Tblspn fresh Mint
Note: Because this recipe is a bit more involved, we’ve got some step-by-step pictures to help make everything super helpful.
Directions:
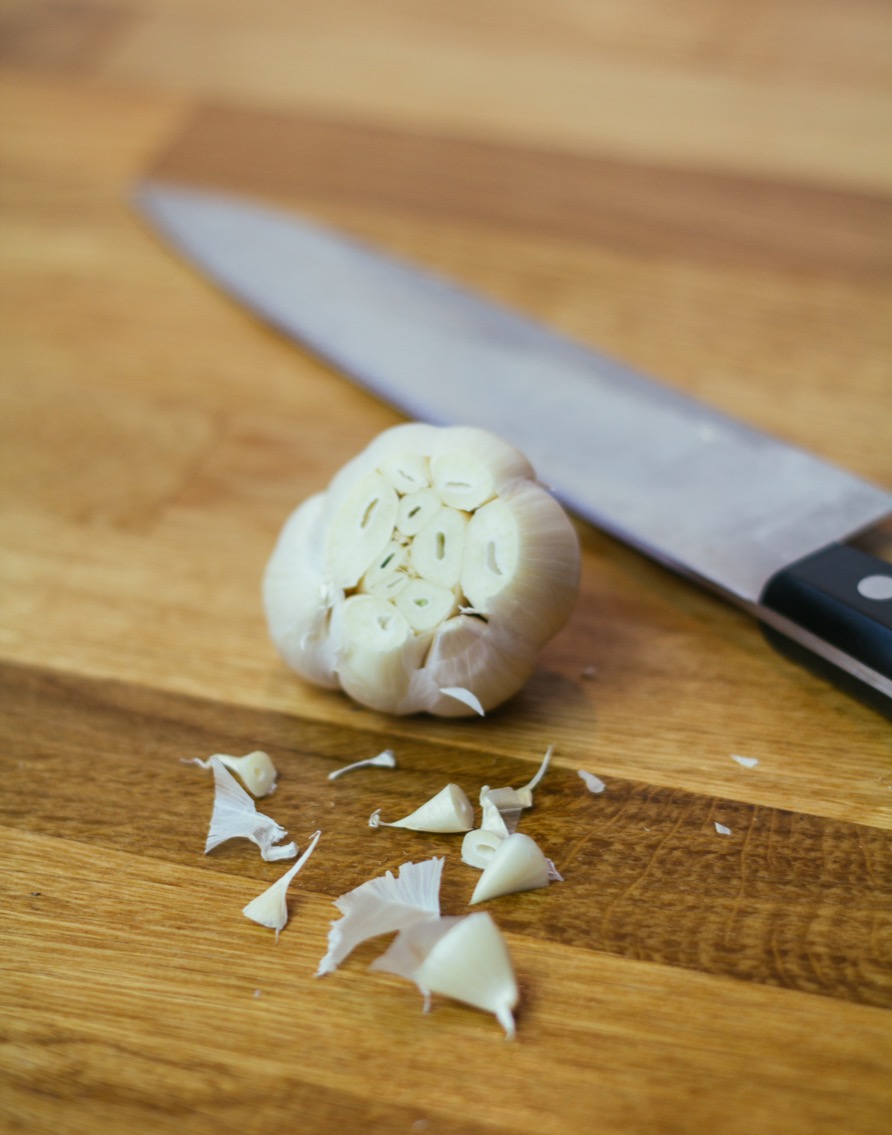
Step 1: Preheat your oven to 300º. Chop off the top of the head of the garlic and peel some/most of the paper off. Drizzle with a little olive oil and bake in the oven for about 50 min or until soft.

Step 2: While the garlic is baking, we’re going to prep the stove to begin boiling our carrots. Find a pot large enough for your carrots to fit in, and fill it with enough water to cover the top of the carrots by an inch and a half (or so). Cover with a lid and bring the water to a boil (medium-high heat). Don’t add the carrots yet.

Step 3: Prep the carrots while the water is heating up and starting to boil. Optional: Peel the carrots. Not-Option: Wash the carrots. Clip off the greenery and add them to the boiling water on the stove. Cook for like 10 minutes or so–but watch them, you don’t want them very soft because we’re going to cook them more later.
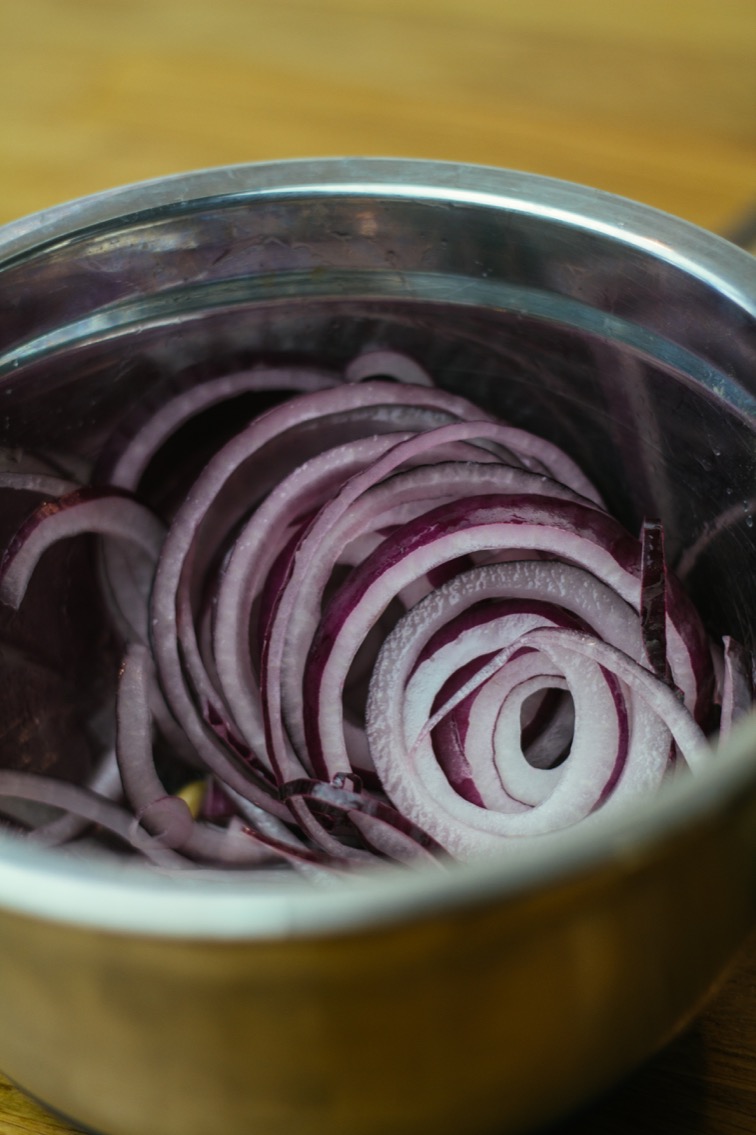
Step 4: While carrots are boiling (10 minutes) turn your attention to that red onion. Slice it up really thin and put the slices in a bowl. Add your lemon juice on top and toss or swirl it around a bit to coat. Let this sit for for like 30 minutes or until you need to throw them in the oven (later step).


Step 5: Is your garlic done cooking yet? Check on it. And don’t forget to set a timer.
Step 6: Good, the garlic is done. Pull it out and set it aside. We’re going to let it cool so you don’t burn your hands.
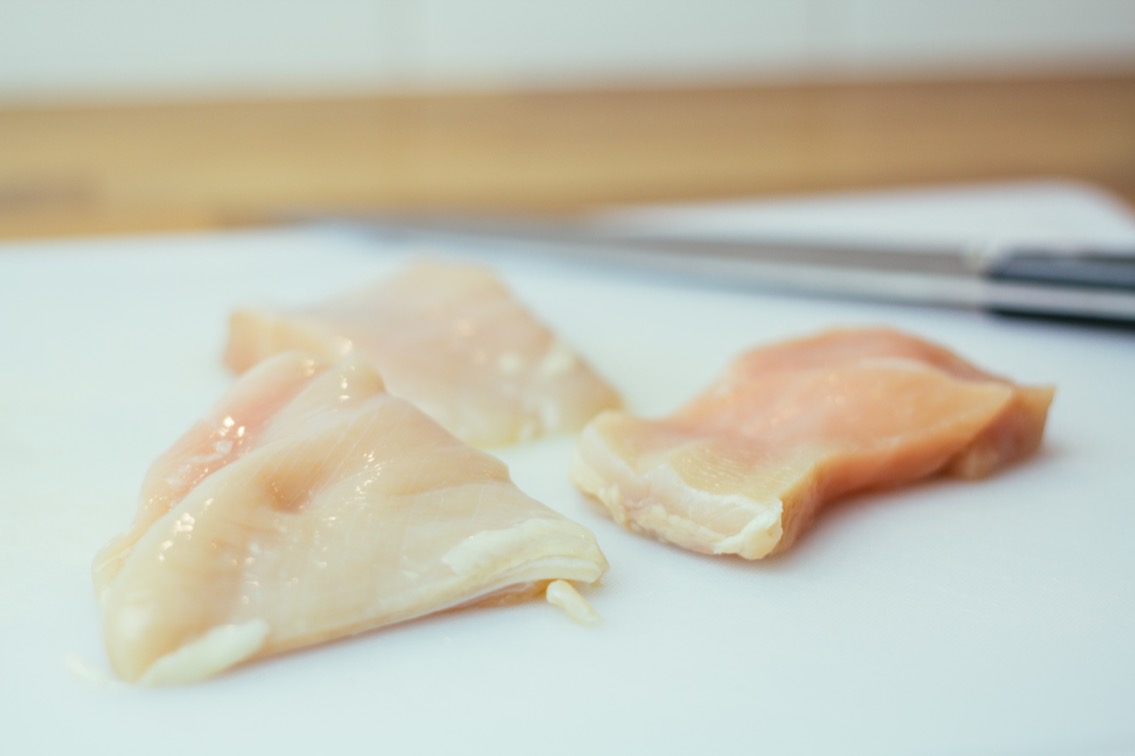
Step 7: Moving right along, let’s focus on that chicken. Grab a sharp knife and slice the chicken into some thin filets. There’s not an exact science to this, just take a thick chicken breast and make it thinner so it cooks quicker and more evenly.

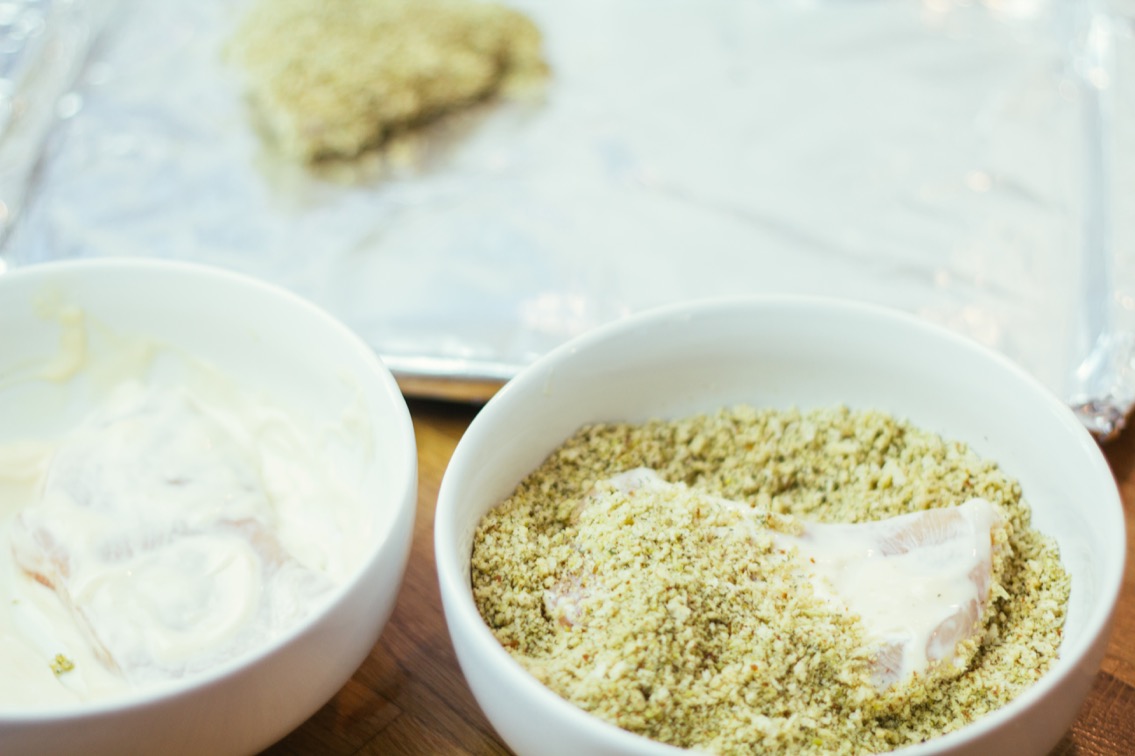
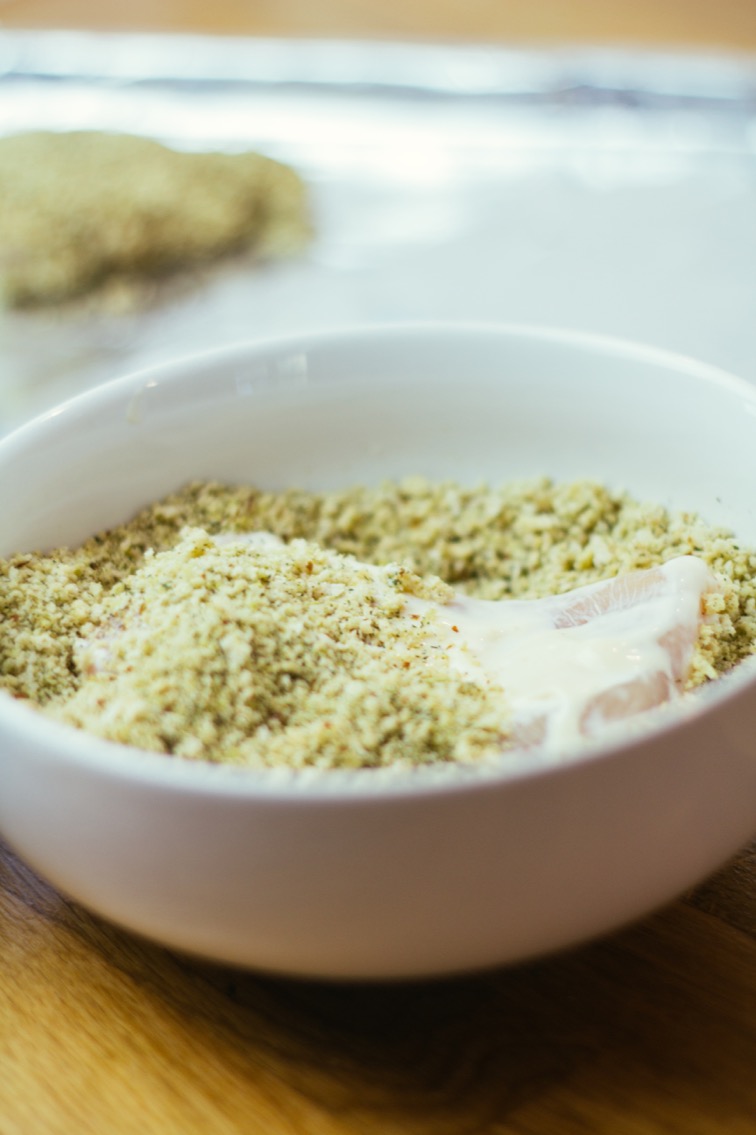
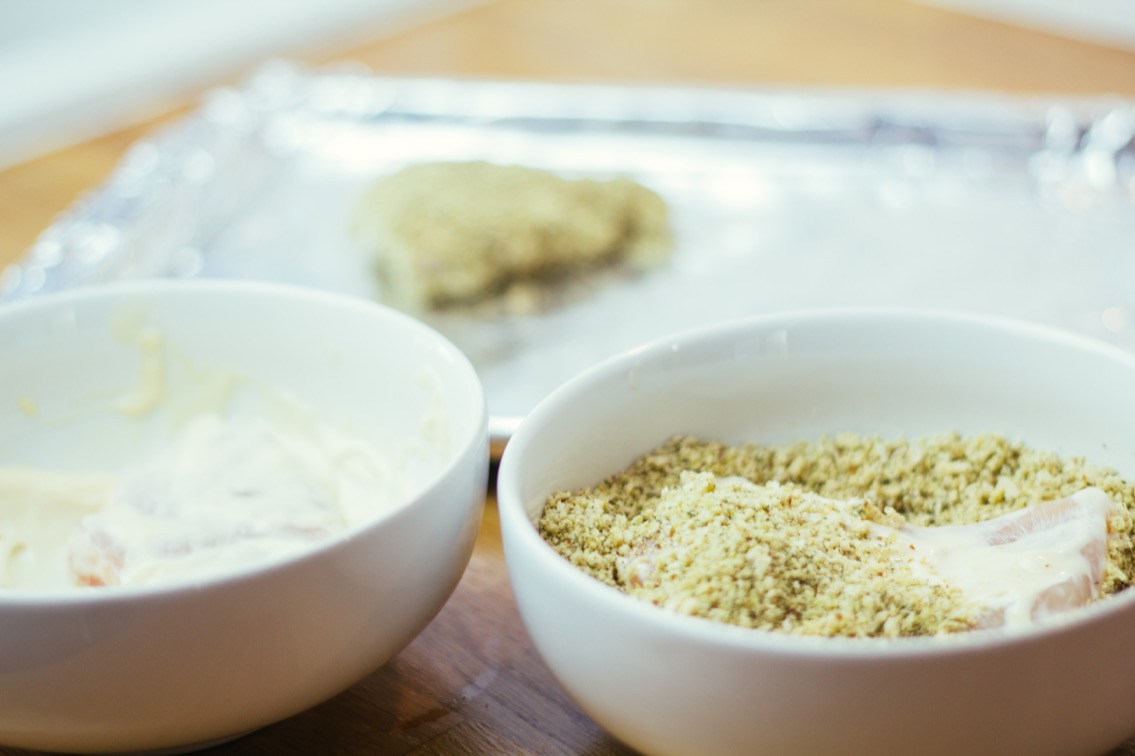
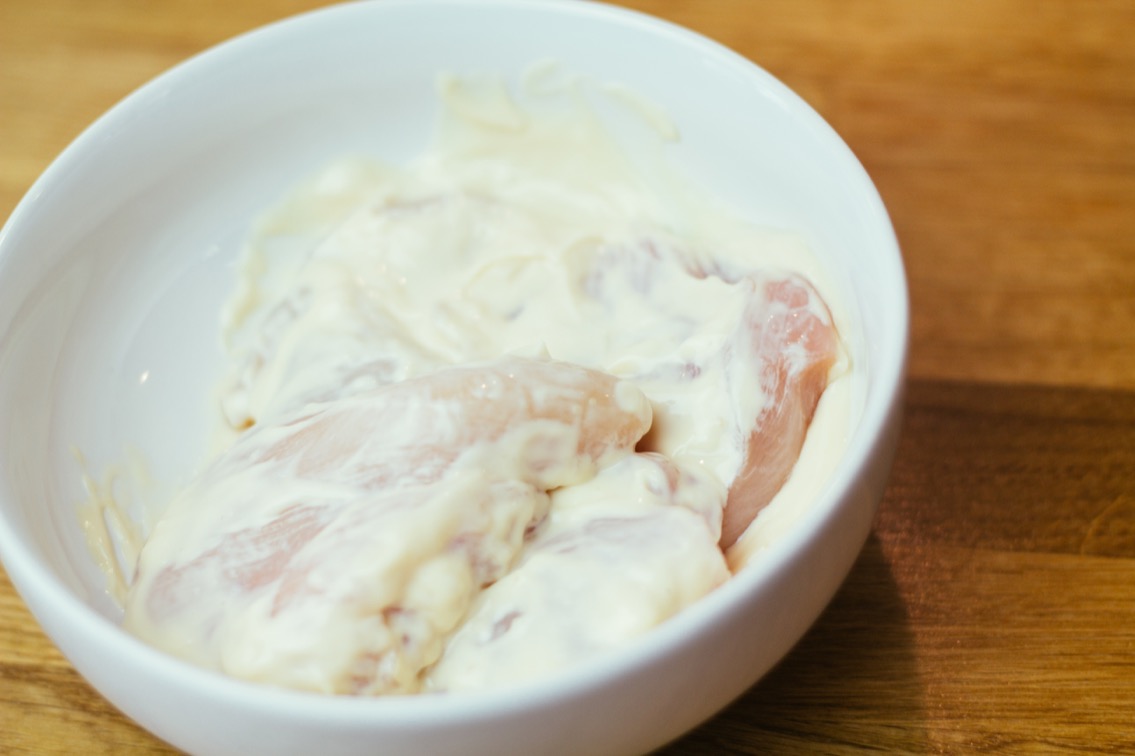
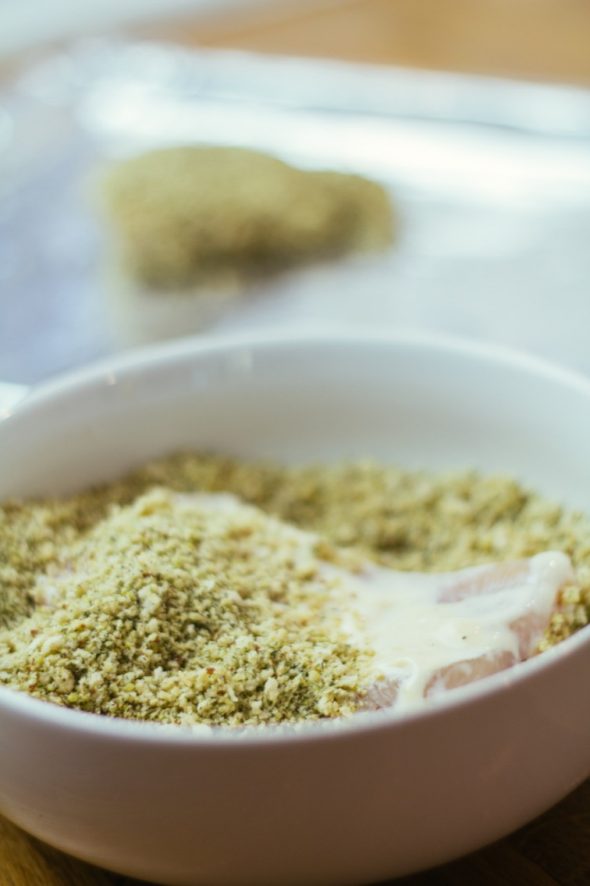
Step 8: Use your fancy The Good Table – Lemon & Herb sauce and crust mix to coat and bread the chicken. I know the box says “fish” on it; but I don’t let boxes tell me how to live my life. This stuff is delicious and I’ll use it on whatever I feel like it!

Step 9: Grab a cookie sheet or baking pan and cover it in aluminum foil (this makes cleanup nice and simple). Next, put the sauce in a bowl; put the bread crumbs in another bowl. Then dip and dunk. Repeat until all the chicken is coated and ready to bake.


Step 10: Your carrots should definitely be done by now. So make sure you turn the heat off, and drain the water out of the pot. You can leave your carrots there to wait for you until you finish the chicken.
Step 11: Put the chicken in the oven to bake at 350º for 12 minutes. But check this often. They may get done much sooner (or much later) depending on how thick/thin you cut them. Use a meat thermometer to be extra sure when they’re finished cooking.
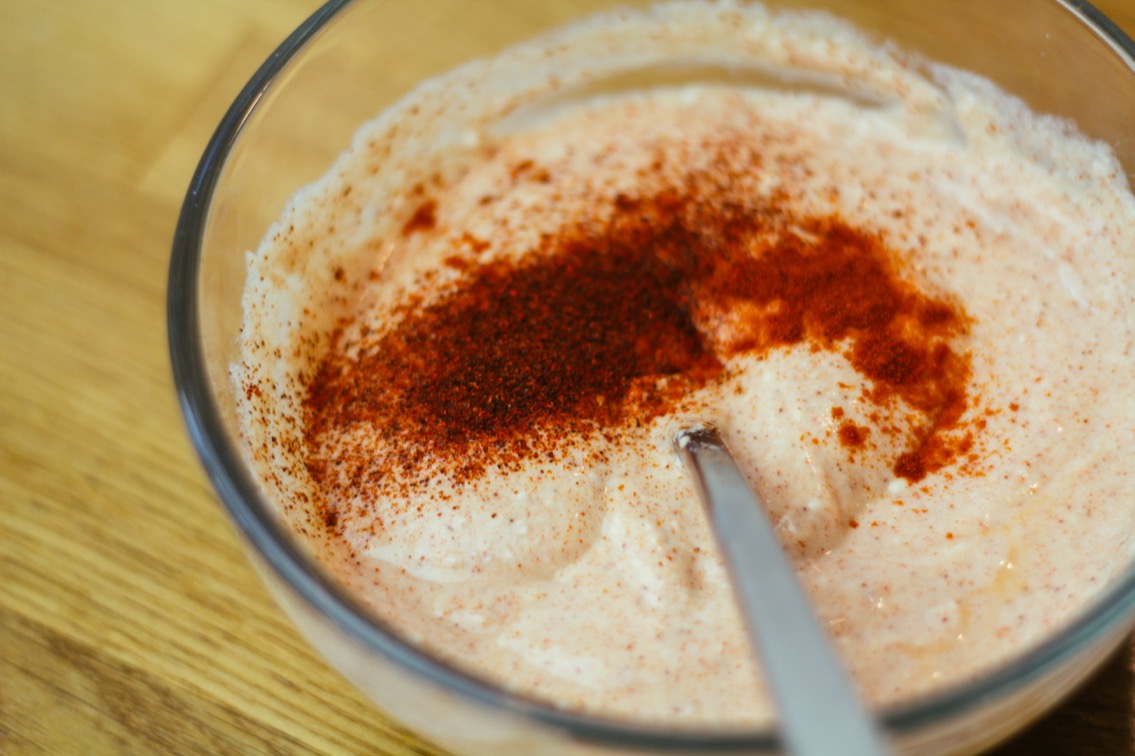
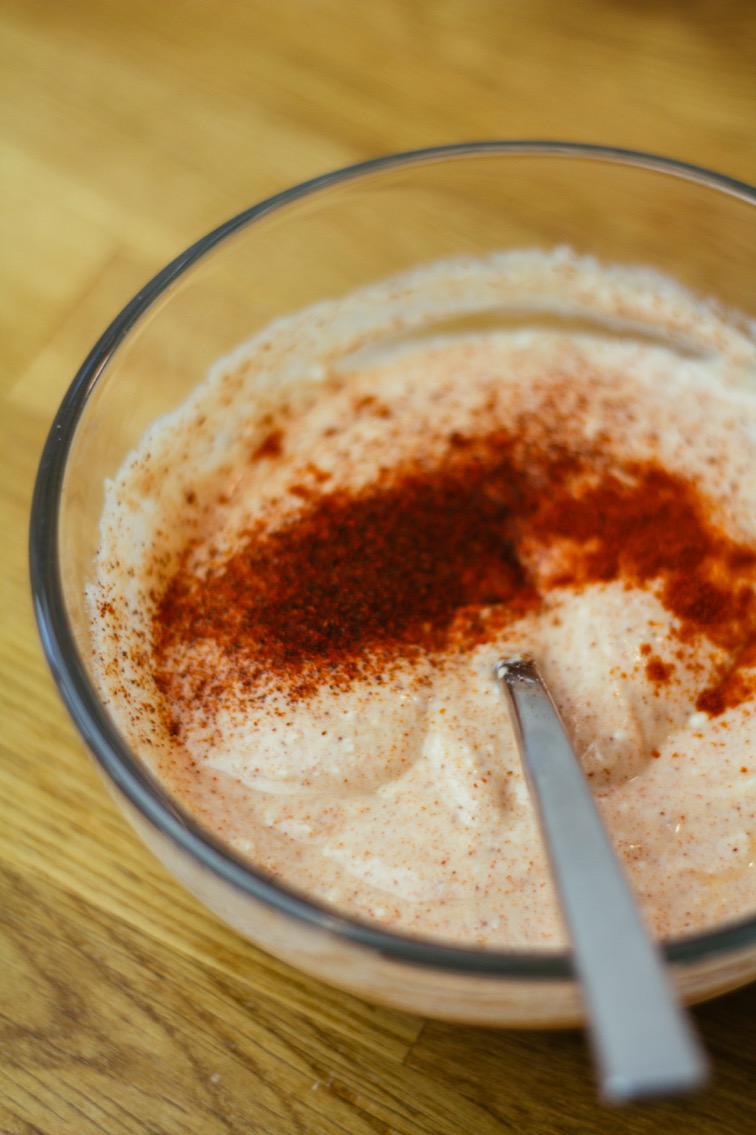
Step 12: While the chicken is baking, grab the garlic which should be cool now, and squeeze the individual cloves out into a bowl. Add 1 cup of plain Greek Yogurt. Mix a little bit, then begin to stir in Paprika and Chipotle powder. Add a pinch of salt.

Step 13: When the chicken is almost finished, put the carrots and onions on a baking sheet and drizzle with a little bit of olive oil and sprinkle with a pinch of salt. Pull the chicken out of the oven, put the veggies in near the top and kick it into high gear. Turn off the “baking” function of the oven and turn on the broiler. Watch the veggies very closely.
Step 14: Continue monitoring the veggies very closely. That broiler is going to take your carrots and onion from “They look cold,” to “I burned them,” in just a matter of minutes. Stay near the oven.
Step 15: Finally, when the carrots and onions are ready (adequately blistered and cooked), turn off your oven and pull the veggies out.
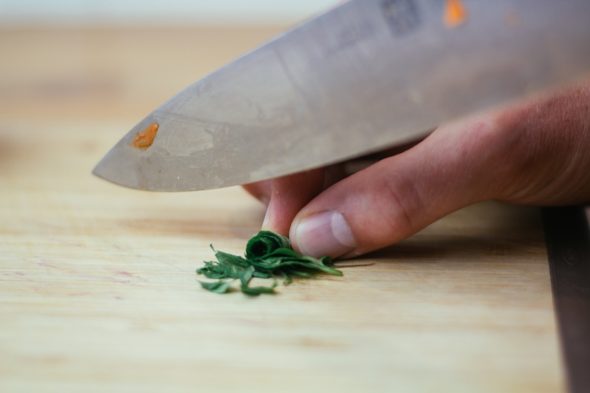
Step 16: Take the fresh Mint leaves and stack them on top of each other (like a deck of cards), then roll it up (like a cigar), hold it precariously and slice it into thin ribbons. This is called “Chiffonade” and it’s pretty impressive when you do it right. Here’s a link to a more detailed tutorial: SeriousEats.com
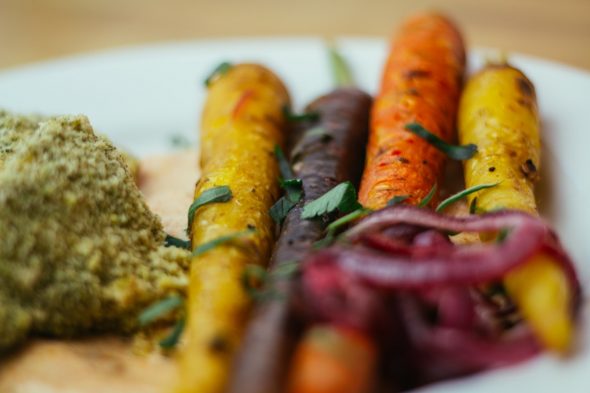
Step 17: Plate with spicy yogurt on the bottom, then veggies, then chicken. And enjoy!

I probably shouldn’t mention this, but full discloser: I didn’t much care for the sauce until I ate it with the carrots and chicken–then I really liked it! So if you’re tasting it while your making it and thinking, “This is kind of weird,” it’s okay. You’ve just got to commit and trust the process.


Chicken & Wild Rice
Chicken & Wild Rice is a lean and healthy option for those wanting to whip up a quick and delicious meal. Using a box of Rice-a-Roni ensures that the taste will be there without working …
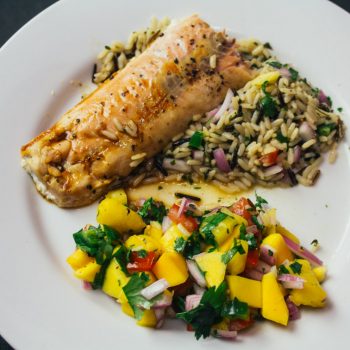
Mango Salsa Salmon
Most guys don’t care for the “fishy” taste of fish, this recipe makes fish taste like springtime fought a tropical island and won! Next time you want to impress a lady (and possibly not be …

House Salad
Salads aren’t normally “bachelor food”, but I’ve found if you throw enough bacon and other goodies on a salad you can’t even taste that it’s healthy. Welcome the Bachelor Cooking House Salad: Prep Time: 20 …
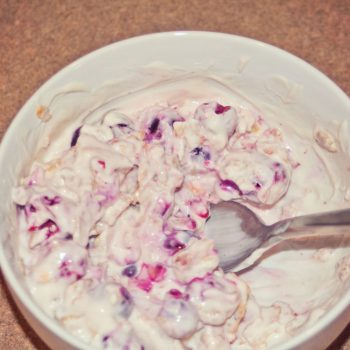
Breakfast Parfait
At Bachelor Cooking we believe that breakfast is the most important meal of the day, but lots of times our busy schedules force us to skip it. Here is a quick and easy recipe that …
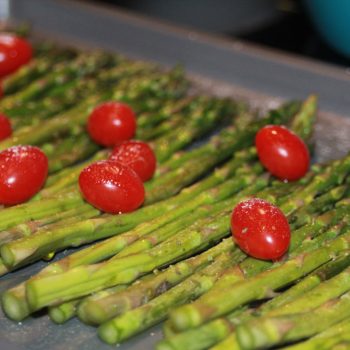
Baked Asparagus
This is a great Bachelor Cooking side dish that will dress up any meal. Plates look good with some color, so use this side to help make your main entrée look great. Prep Time: 5 …